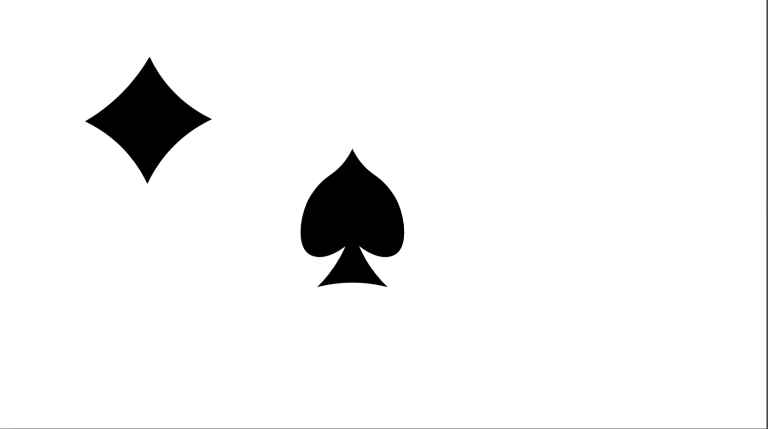
In Abode Illustrator, I decided to make a spade because I think its the best looking suit in a deck of cards, however it was relatively hard to make because of the strange shape and the different curves. Using the program I made a heart shape and used the curvature tool to create the pointed top, and the triangle at the bottom I also used the curvature tool to collapse the sides in to create the right shape.
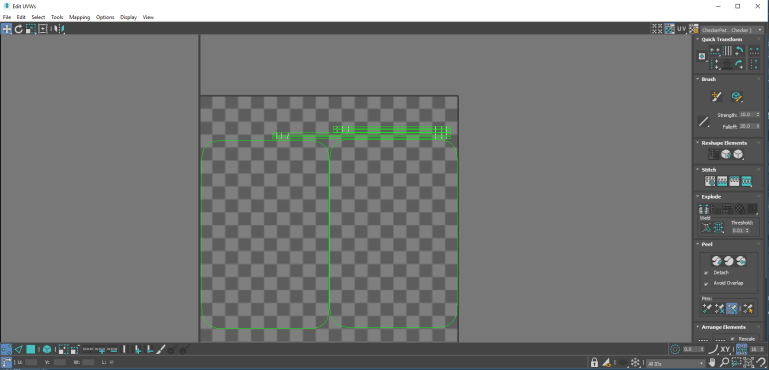
In 3DS MAX , I drew a polygon and typed in the dimensions of an actual playing card and then using the ‘Edit Mesh’ tool and ‘Chamfer’ tool to round out the edges and create and more realistic representation of a playing card. I then added a ‘UVW Unwrap’ and saved the coordinates to Photoshop.
We labelled them front and back so that we knew which textures to put on which side and made sure they were the fight way up and that we weren’t doing anything wrong.
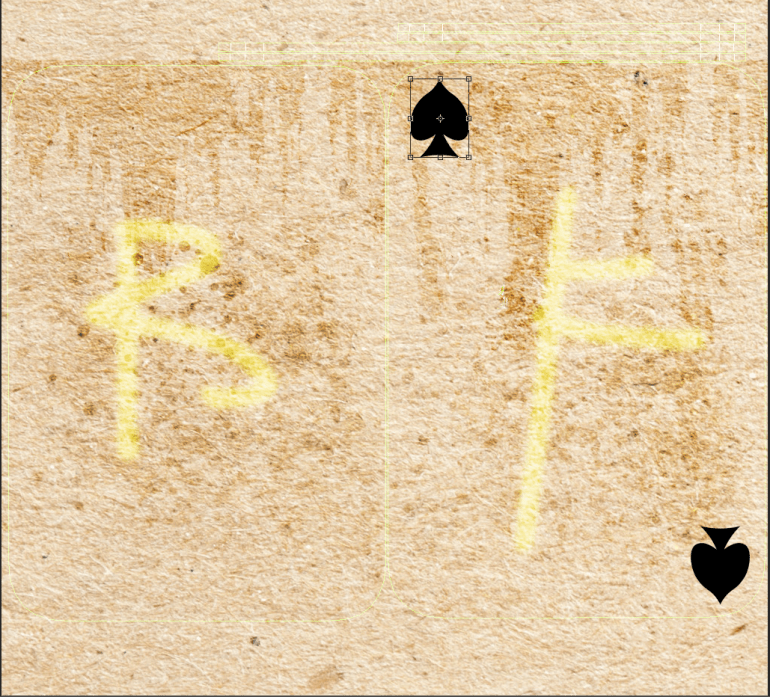
I then went on the internet and got a card texture to use as a background and used several different tools to alter the textures and make the card look worn and old which added a better aesthetic look to it, which could help the player understand the possible environment it’s been in and how much care has been taken of it. I copied the spades from Abode Illustrator to Photoshop, and placed them on the card in the appropriate places, and used the ‘Spot Healing’ tool to remove the ‘B’ and ‘F’so they didn’t show up on the card later.
The 3 Different Textures
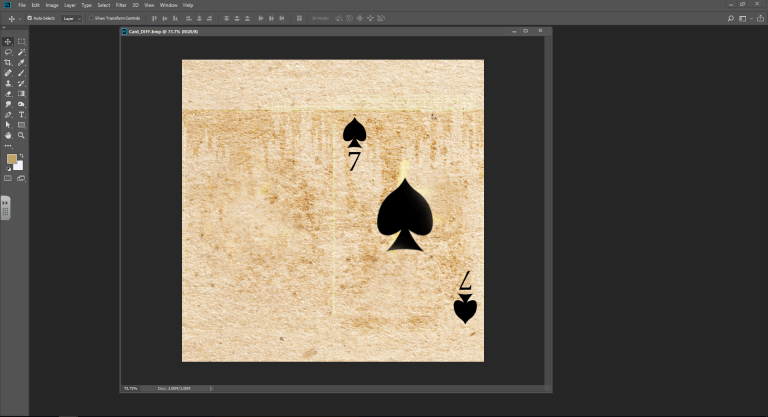 The Diffuse Texture
The diffuse texture is the visible one that you see on the actual card in this case the ‘7 of Spades’
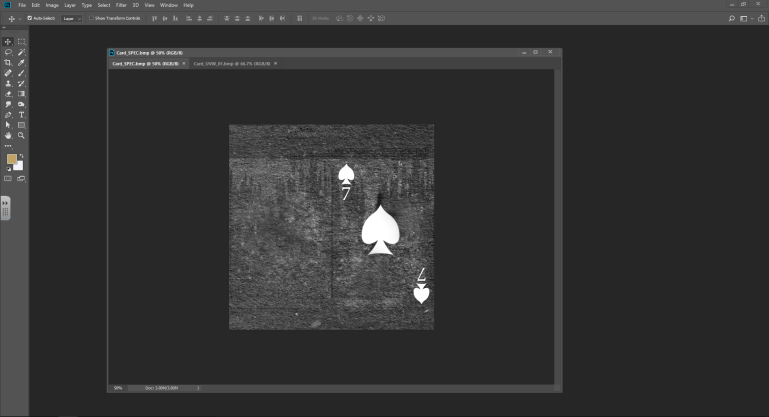
This creates reflective and non-reflective parts of the design and gives the card more character and creates a more realistic effect on the card. I did this by ‘Grey scaling’ the card.
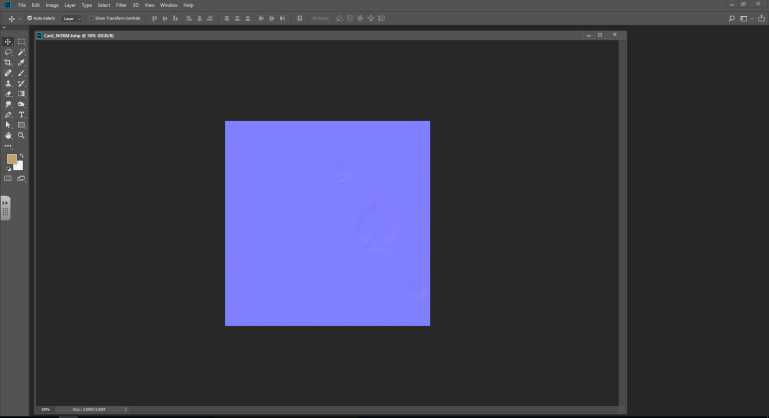
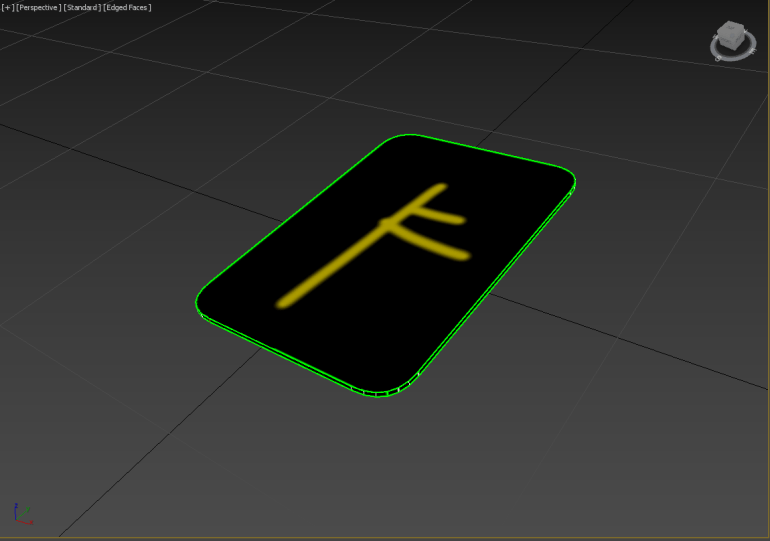
This texture creates a roughness of the card like several layers have worn away, you do this by going on the Filter menu and clicking ‘Generate Normal Map’ again this creates a more realistic effect.
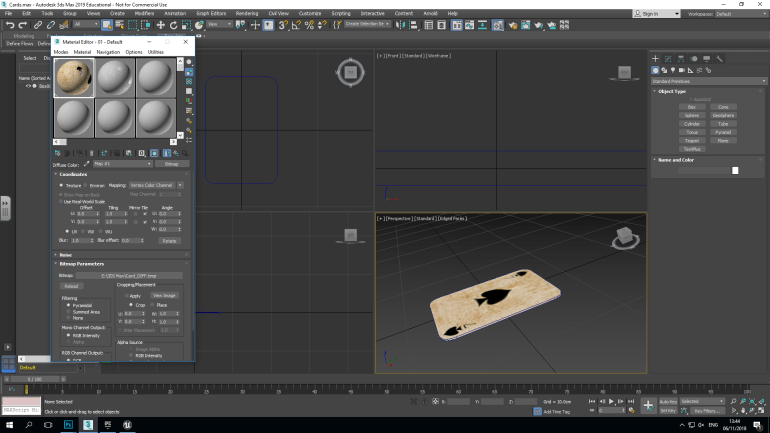
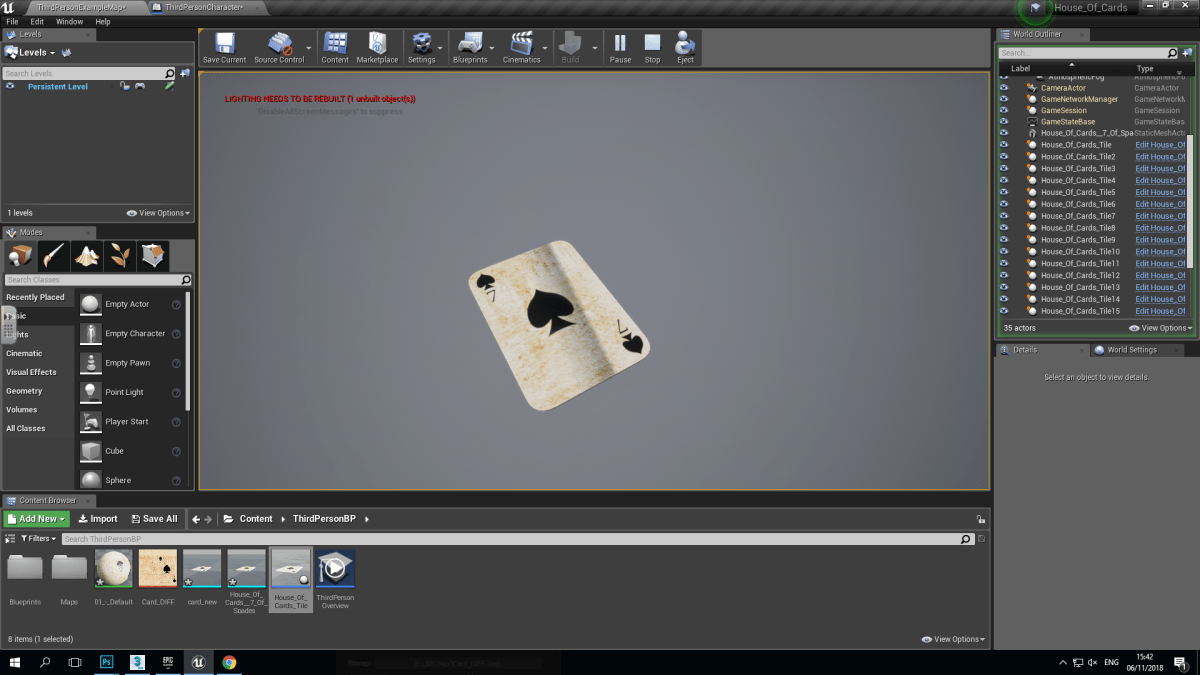
In 3DS Max, I inserted the textures using the material editor and placing the textures into the corresponding places and this created the texture on my playing card, I also moved the card to the center of the creator and then exported it as an ‘FBX File’ and then imported it into Unreal Engine 4.

After importing it, I had to create an actor blueprint and give it Collision and Gravity so that the player could actually interact with it.
