
We were tasked to create a Vulture that would circle over the player’s position and produce different sounds at random times.
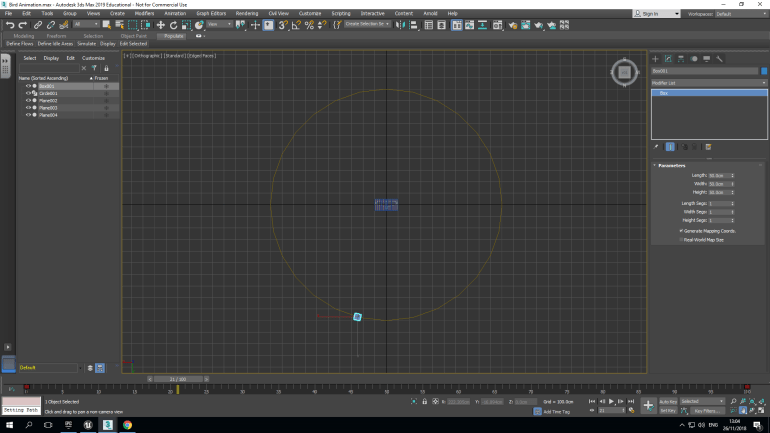
Firstly we created a circle and I set the radius to 3000cm and set the center of it to (0,0,0) and then dragged a cube in. Using the Animation tab I linked the cube to the circle using the ‘Link Constraints’ and it began to revolve around the circle, however it didn’t change it’s angle as it moved around. I corrected this by clicking the ‘Follow’ option.
We then had to create the actual Vulture.
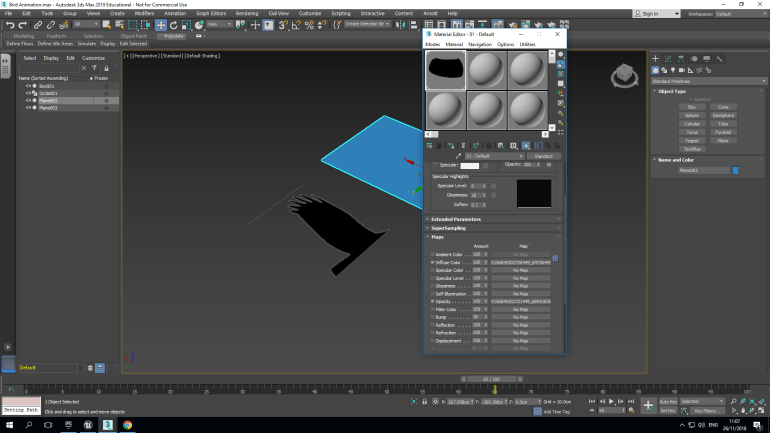
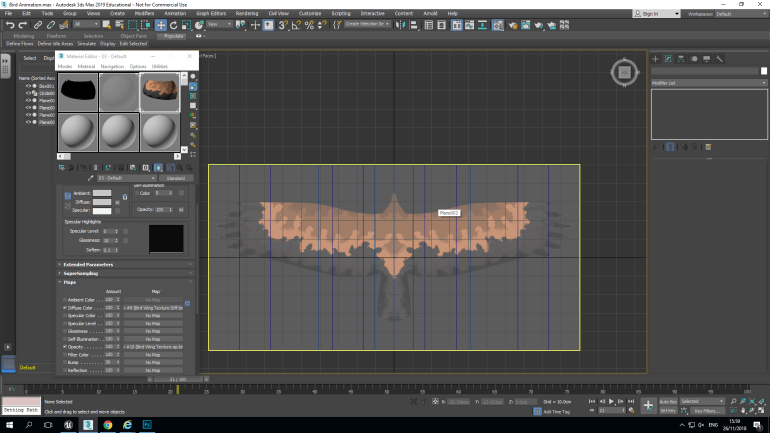
I then created a 100cm by 100cm and used the material editor to add the texture we downloaded. One texture was Diffuse the other was Opaque. The reason for this was so you could see past the parts that weren’t the actual wing but were still part of it. I inserted these into the correct section and it came out properly. I then ‘Mirrored’ the half and created another one and placed them side by side so it created a full 2D image of a Vulture.

I set the Vulture to (0,0,-20) and moved a rectangle above set at (0,0,0) and set the Opacity to 25/100. This was so I could see through it and this was so I could edit the rectangle according to the Vulture. I dropped an ‘Edit Mesh’ on the rectangle and gave it 6 width segments. I moved the inner ones so they sat as far in as possible without overlapping the tail. Secondly I moved another two so they sat where the wing peaked highest on each side. This is where the wing will bend when it’s fully animated and will give the Vulture a semi-realistic effect.
I then had to set up the noises the Vulture would produce so I downloaded two and imported them into UE4 as WAV Files.
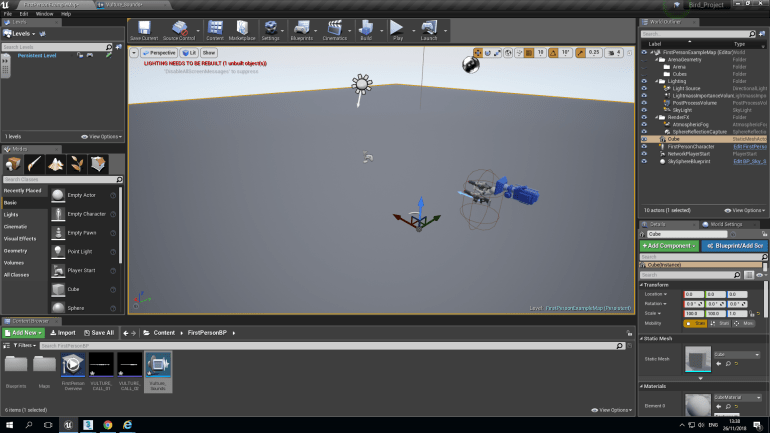
I had the then create a Sound Cue so they would actually work properly.
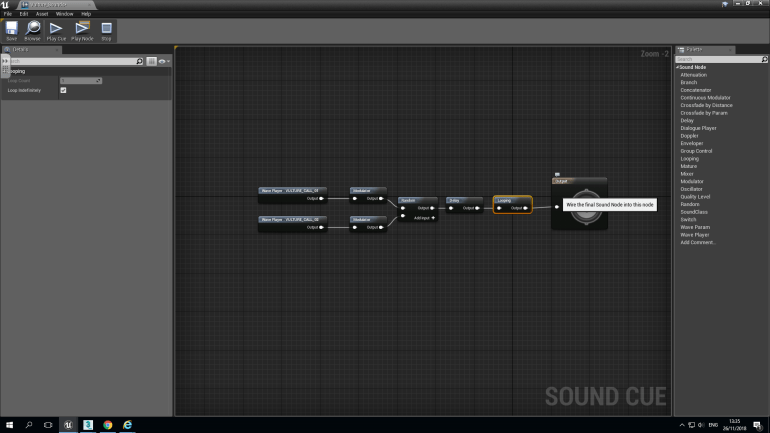
I added two ‘Wave Players’ and added a ‘Vulture Audio’ to each one. I connected each one to a modulator that controls the pitch and volume of each sound. I set the Max Pitch to 5 and the Minimum to 1. I did the same to volume. Both sounds were like this, both of them then linked into a ‘Random’ this chooses one or the other randomly and plays it. The next component was a ‘Delay’ that causes a delay between noises I set it so that a random sound would play between 1 and 6 seconds. Afterwards the was a looping module so that it would play another after the previous one had finished. It finally linked into an ‘Output’ module so that it actually played.
In Photoshop, I had to make a texture for the Vulture so that it wasn’t just a solid black color because that would look unrealistic. I pasted the Half-Wing into Photoshop and used the Paintbrush tool to paint the colors onto the wing and used the eyedropper tool to sample the colors. The image was 512×512 because it gave a better texture than 256×256 because the was more pixels per inch which produced a better end result. I exported the texture as a BMP File and imported it in 3DS Max, I then used the material editor to paste it onto the actual Vulture as you can see above.
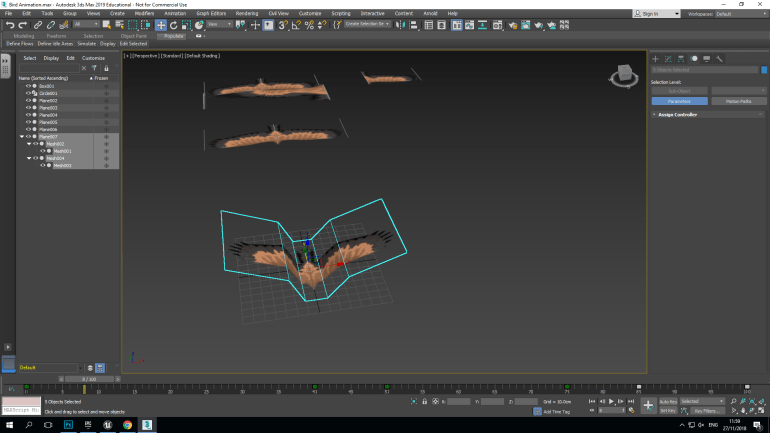
We had to separate the different sections of the bird so that we could animate it properly so that it actually looked like it was flying. I separated it so I had ‘2 outer wings’ ‘2 inner wings’ and a center body. I used the curve editor to create the impression that the Vulture look like it was flying.
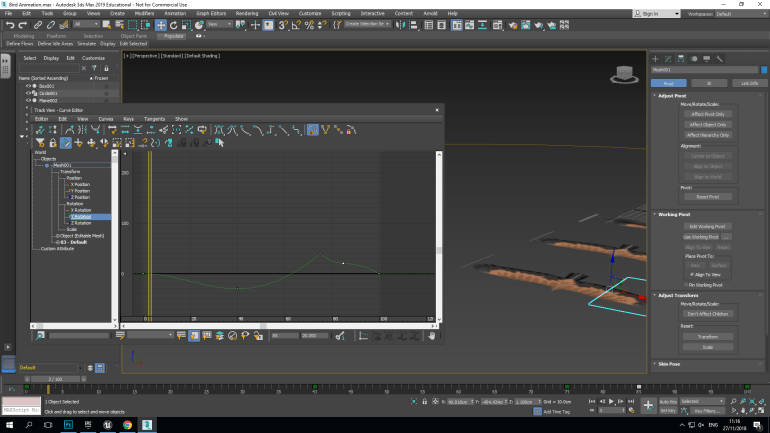
When the animation is set to 0 the Vulture isn’t perceived to be mid-flight but as the animation plays the Vulture flaps it’s wing once both up and down that will make it look as if it propels itself forward. Using the curve editor the only rotation I used was Y-Axis. This causes the wings to move up and down stimulating flight.
As you can see the wings are at a peak and will generate down force as they drop this will give the player a relatively realistic model of a Vulture.
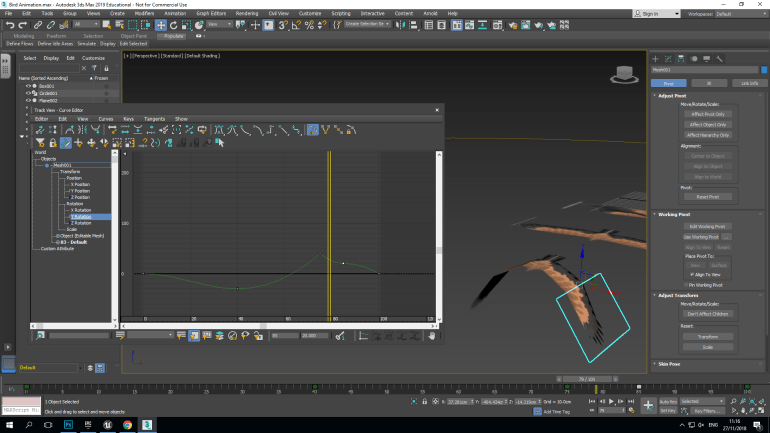
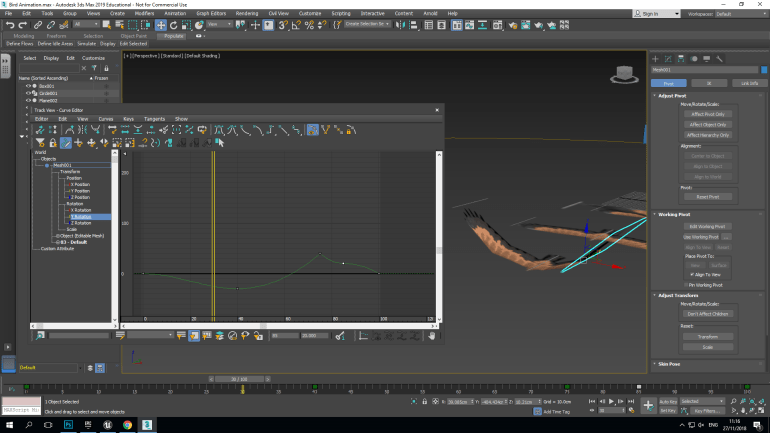
The wings here, drop to the lowest point here and then move back upwards towards their starting point so the animation is smooth and doesn’t just have a massive gap in it.
