
We were tasked to create an Environment using the techniques we learned in the past 4 smaller projects these being:
- House Of Cards
- Seamless Worlds
- Simple Characters
- The Birds
I decided to create a section of a Police Station, The Cells because this is where I’ve decided the player wakes up after rioting and being knocked out by a Policeman, you wake up a few weeks later because you happened to be in a Coma.
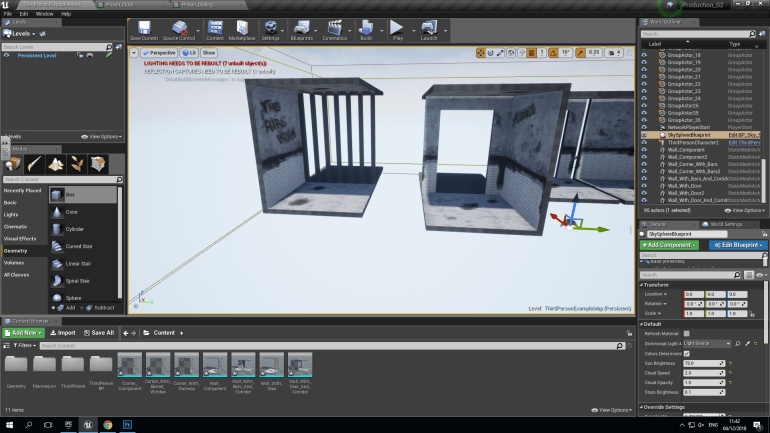
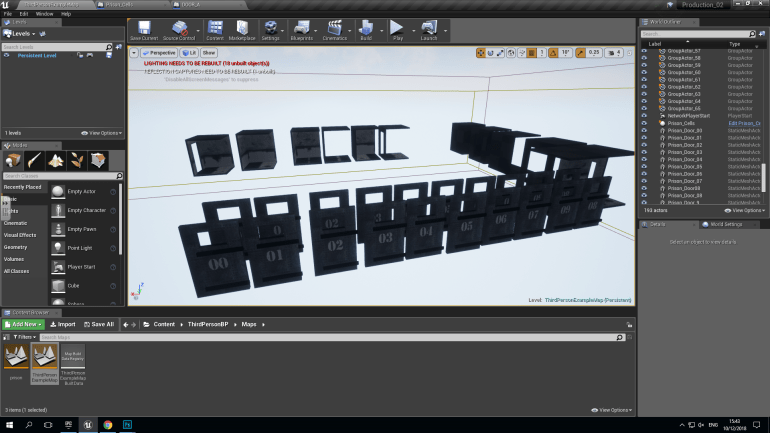
I started by going onto UE4 and creating the wall components with doorways, bars and barred windows.
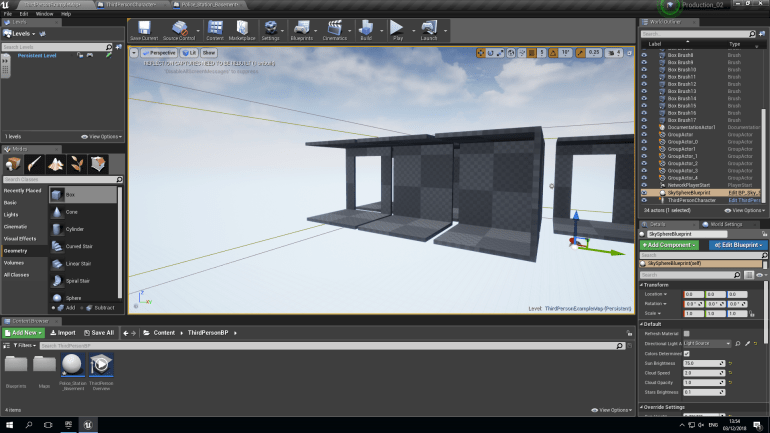
These were easy to create since I had done it before and didn’t consume to much time. Like before I used Additive and Subtractive boxes to create these components.

I had to use a lot more Subtractive boxes the create the bars but it still wasn’t very complicated to produce.
This Components below had extra floors and ceilings to create a corridor outside of the cells to create a believable building that you can move around in.
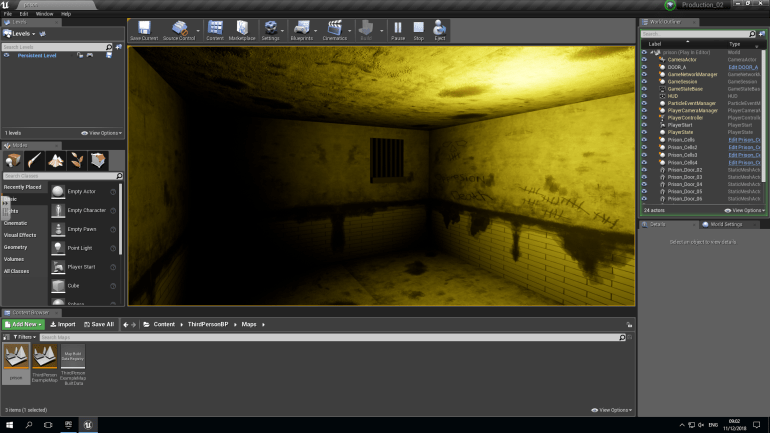
After this I had to make the textures for all the different walls, floors and ceilings.
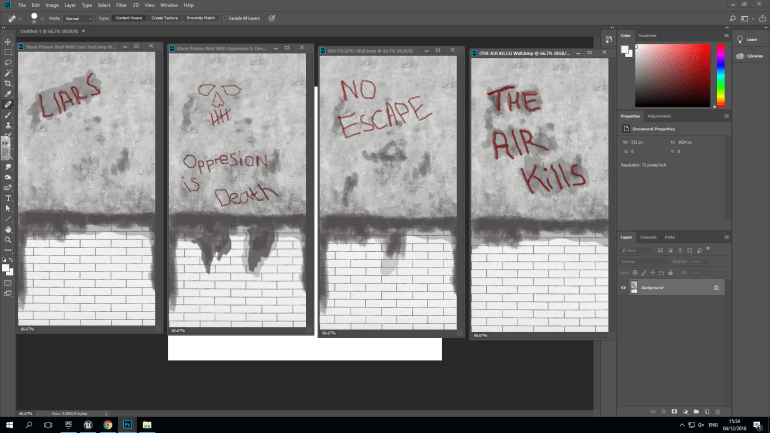
I used Photoshop to create all of these textures, I used the same background because the walls won’t change in the cells but I wanted to add different types of graffiti on the walls that inmates had wrote, but you’re the only one left here now. I used the paintbrush and a dark red paint to suggest that it might be wrote in blood, I also gave some text a grey background to make it more noticeable because some of it will actually be useful and gives hints about the games background that you have to find out yourself. I also drew little decals and logos that suggest other things like the skull.
While adding the textures, I encountered some issues, such as the texture wasn’t going on the wall properly it was being tiled on so I had to alter the Geometry and Surface Properties. This fixed the problem so that the walls actually looked realistic. The cell bars were also square which I disliked so I changed them to become cylinders doing this, I had to increase the size of the Subtractive boxes because before instead of one the was 6 that created the gap between the bars, however I did have to change it when I used the cylinders instead.
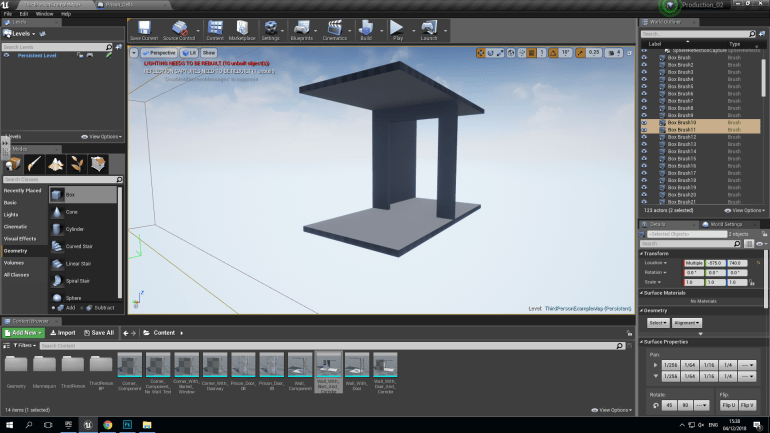
These Sections have corridor roofs and floors, the texture of these are a lot cleaner since they would be maintained better.
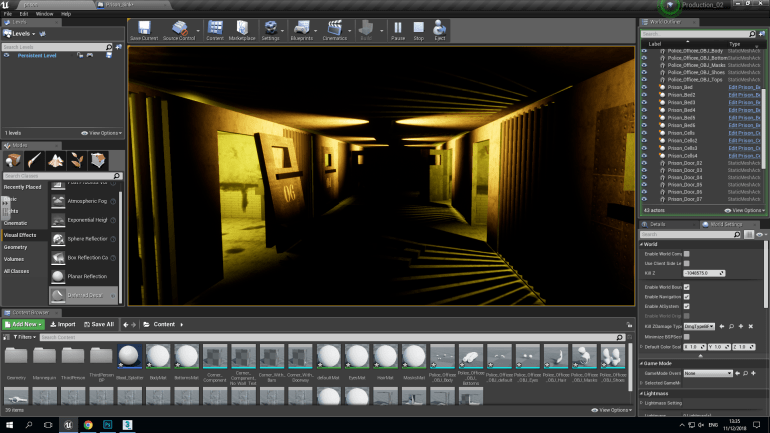
I added Point Lights to the Cells.
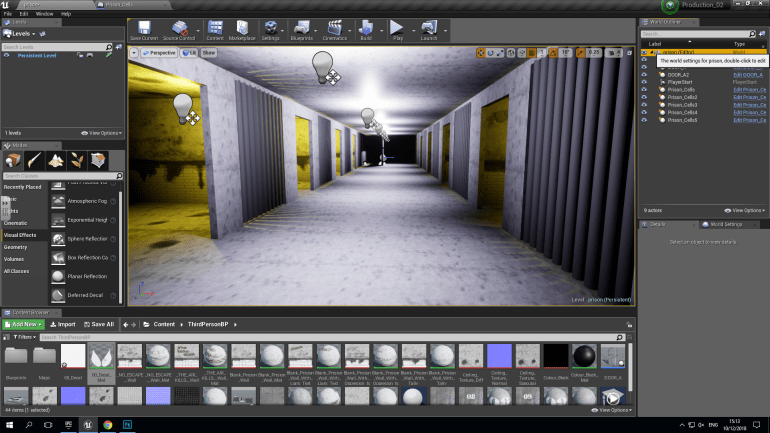
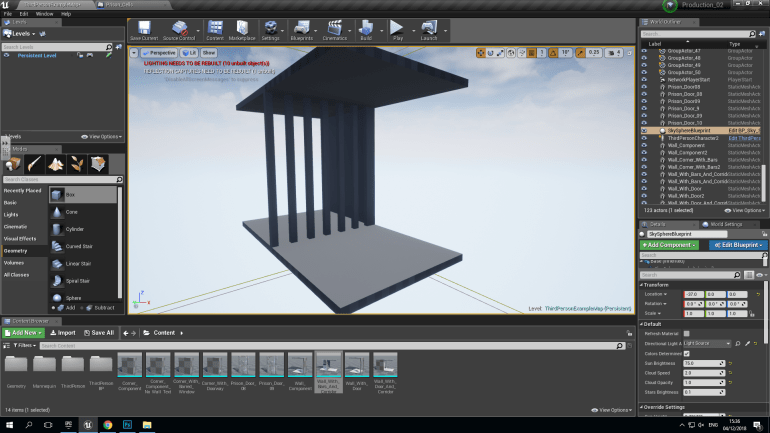
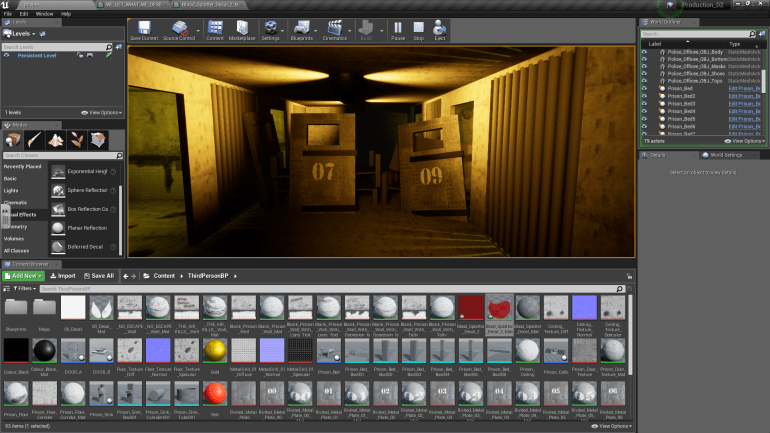
I placed 4 sections of 2 cells each together to create a prison block. I placed bright lights down the center of the corridor which I think lit it up nicely.
I made all the textures the same way using the same background, with text using the magic wand tool and the white paint brush. I created the lettering using this technique it looks like the letters have worn away and/or the paint has been scratched off. I created a copy and turned them into static meshes ready to be moved into my structure.
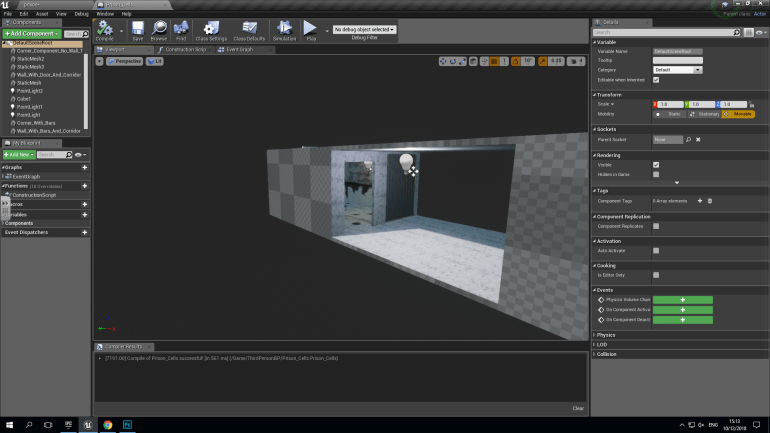
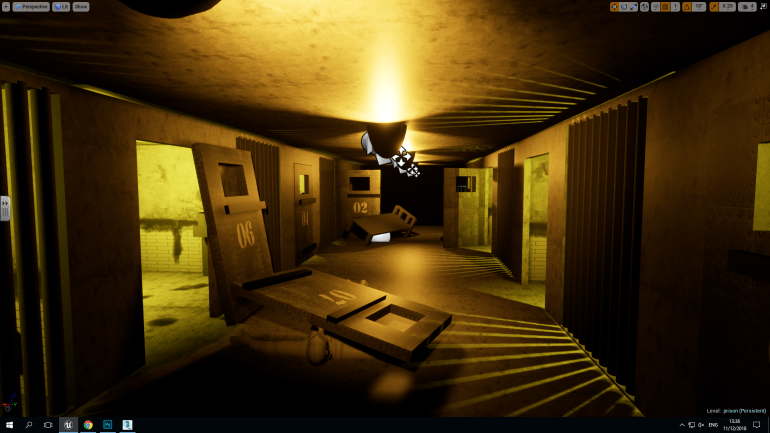
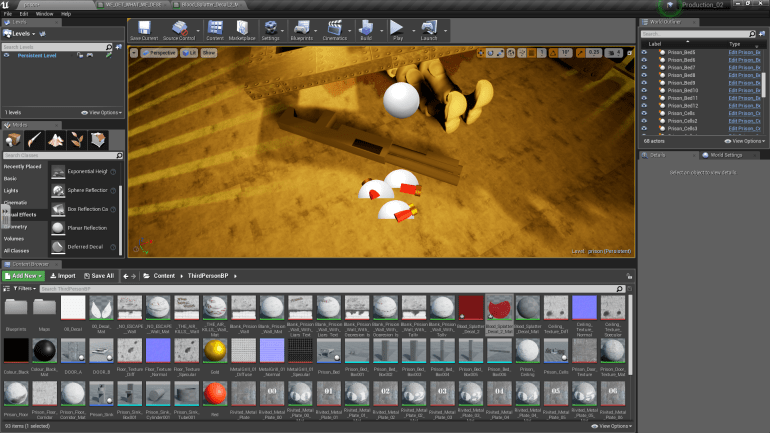
When placing the doors, I placed several on their hinges but some lying on the floor and leaning up against the walls, indicating that the was a breakout, however you were the only one left since you were in a coma. To reinforce this idea I decided to remove the lights because they were to oppressively bright and ruined the atmosphere that I was trying to create. I replaced them with revolving orange lights. I used the following blueprint to cause them to spin.

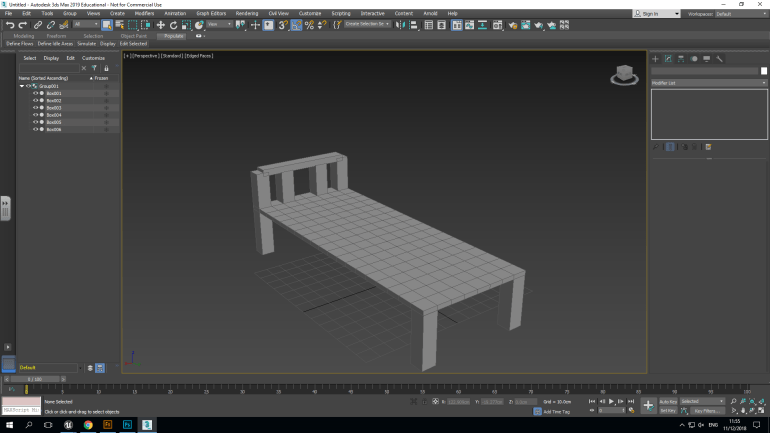
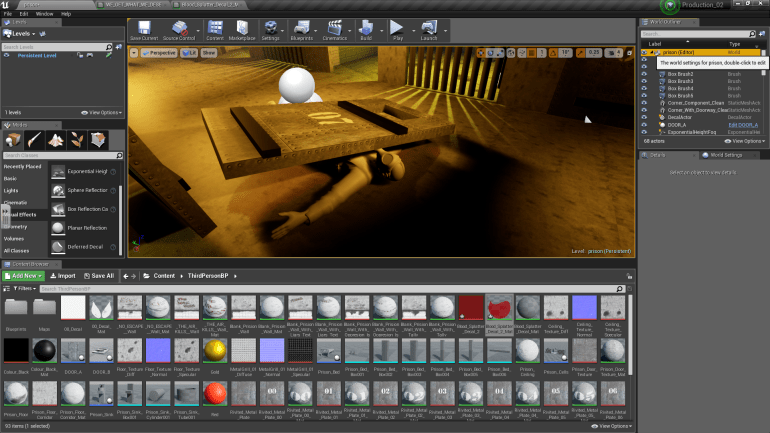
I made a Bed in 3DS Max because cells aren’t bare they do have furniture in them so i created a bed and placed them at different locations and angles like they’ve been used to bash the doors open and this can be used as storytelling letting the player decide what might of happened.
I scattered beds around suggesting that they may of been used as battering rams to smash the doors down and generally just thrown about.
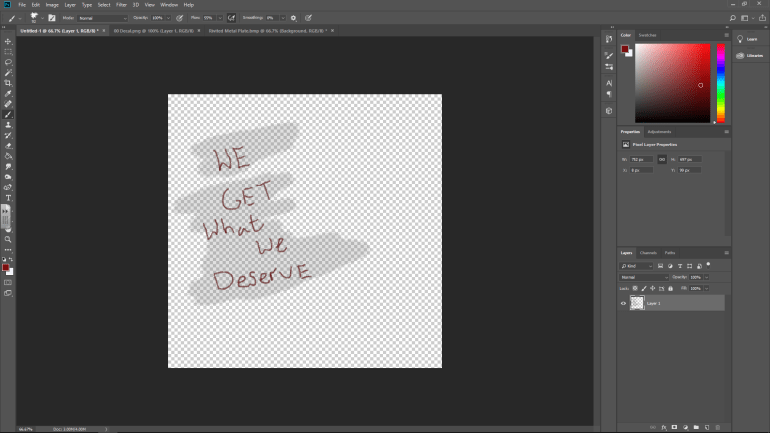
I decided to add a Deferred Decal that works as a sticker and can be placed on any surface. However it doesn’t work if the white background appears in Photoshop so you have to create a layer and remove the background that’ll leave you with this checkered background. Using Decals is a very effective and quick way to place a texture on a surface since the isn’t many steps to it and I will use this method in future. You have to save it as a PNG File or it won’t work properly.
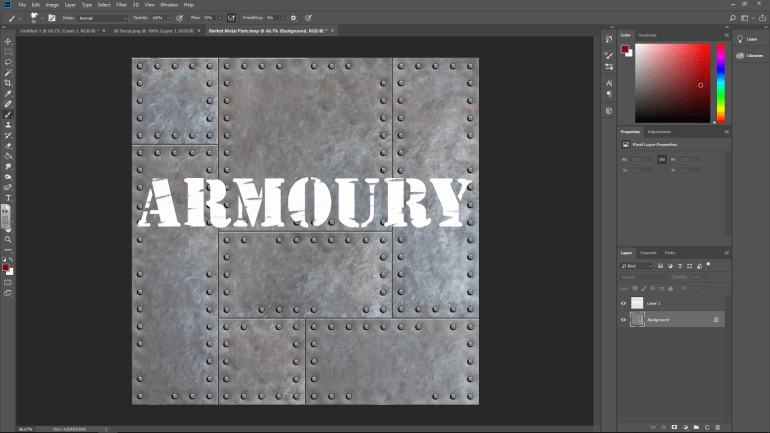
I had to create several door textures for each individual cell with a corresponding number. I produced each one the same way.
- Firstly, I brought up the background which is the one you can see above.
- I used the text tool and wrote the number or text out and enlarged it to the point where it would stay on one line but be as large as possible.
- I then used the Magic Wand Tool to select a part of the number since the font is separate parts and used the paint brush tool and quickly scribbled over them and because of the Magic Wand Tool, the paint stayed between the lines.
- After I finished each individual part, I deleted the text behind it and left the paint which appeared that the text was worn and old.
I used this method a lot and found it an effective alternate to Decals even if it does take a little longer to set up in UE4.

After thinking about it I decided to add two ends to the corridor of cells instead of just having two ends, I thought this would be better and more realistic than just two open ends at each side. At this end I placed a Corridor With Bars, Corner and Corner With Doorway component. I added the Decal that you can see on the left hand wall because I thought it looked bare and a little too untouched so I placed a Decal on it in a Dark Red color.
At this end I created a barricade out of Bed and Door components, suggesting that something was trying to attack the inmates and they put this up to try and keep it out, it’s also a very subtle way of stopping the player from going to certain places since it makes sense and makes the player think ‘What might of happened?’
I created a shotgun in 3DS Max using just basic boxes and cylinders, It wasn’t to difficult to create since it uses simple components and nothing about it was to complicated to detailed but is still recognizable as a shotgun.
I decided to place a dead soldier in my game, that had been crushed underneath a door. I used Adobe Fuse to create this character, selecting different parts and sections of clothing but settled for a very militaristic theme and saved the file as an OBJ ready to import into UE4. I again used decals to create a faded red blood pool beneath him taking advantage of the decals once again.
Post-Production_2
During Production, I set out to create a Police Station with a full interior including cells and an armory that was realistic and included a level of detail. I soon noticed that this would’ve been too ambitious and decided to just create the cells with textures, lighting and some amount of storytelling that’s told by the environment you can walk around in and explore. I believe I achieved my aims after reconsidering them. I think the textures were the thing that went the best for me, using Photoshop again was really good practice, because when I used it for the first time, I was uncomfortable and found it difficult to use but over the months I’ve become more comfortable and can produce half-decent textures with it, I also liked the atmosphere I managed to create using lighting and the textures. What didn’t go well was the amount of space to move around in, it’s not a large area but then again, Prison cells wouldn’t be spacious and comfortable they would be cramped and claustrophobic.
During my project, I was told what Deferred Decal was and found that they would make a very useful alternate for placing text and symbols on walls then it being part of the actual texture and doing this in future could save me hours of work and will allow me to repeat the same textures less and bring more variety in my future projects and make them feel less artificial.
