
25-26th March
I wanted to be as close to scale as possible when creating the bridge so I researched the actual measurements and converted them into the units that UE4 uses and created a realistic scale for my bridge that I’m implementing in my game.
I used real images off the internet to view Tower Bridge from different angles to get a really good understanding of the scale and details are are either etched into the stonework or placed onto the barriers. I decided to add detail but to also keep it quite simple because whenever you see the details you will quite far away but still hint at the detail being there, and because I can be quite simple with the details, I can spend the time on other components that require more time that will will have to create.
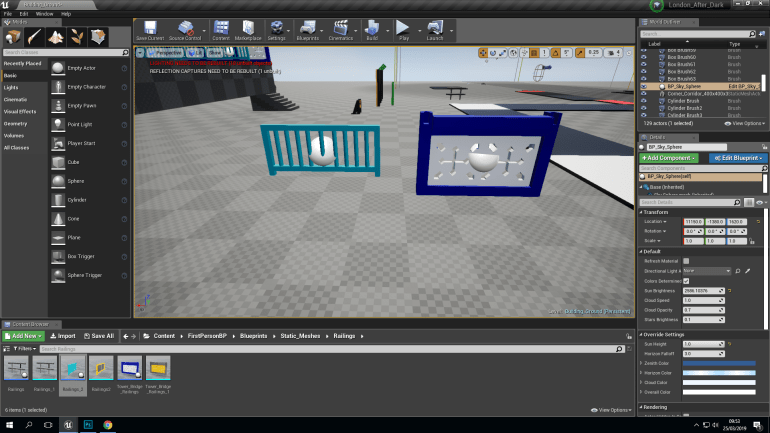
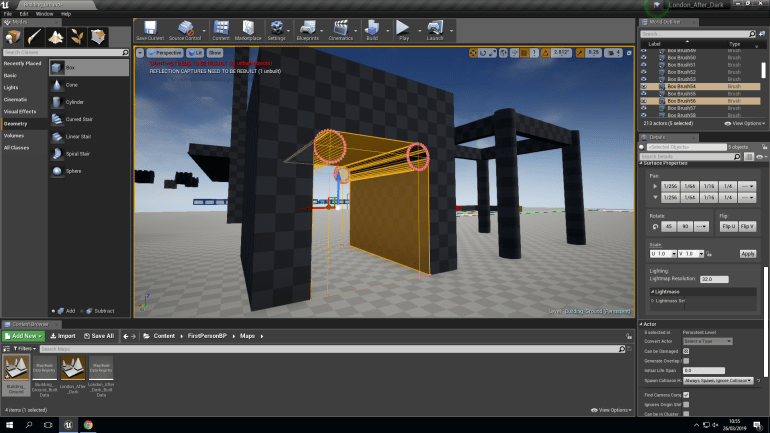
The one on the right took a while to create because of all of the Subtractive boxes that were used in it’s construction, the one on the left is a lot more basic and simple to create since it’s just cylinders placed on a hollow frame at certain intervals. Since I would end up placed several of these I decided to use a Blueprint that would place them side by side and save me a lot of time that I could use create different parts.
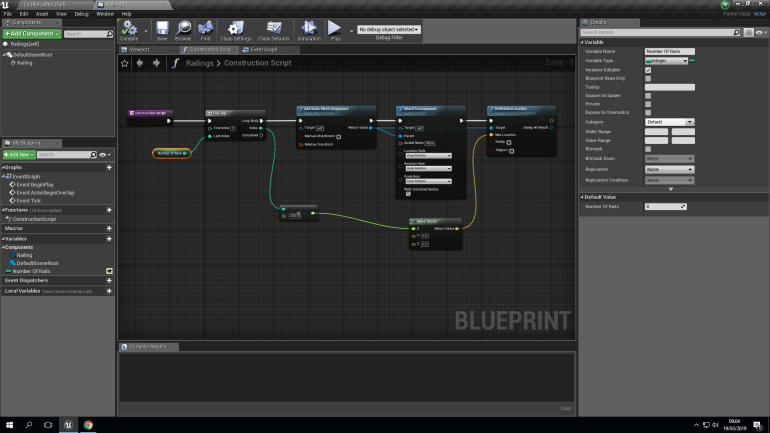
What this does is it.
- Adds a Static Mesh
- Attaches it to a Component
- Sets it’s Location in Comparison to the Component it’s attached to
- Sets it’s distance away from the previous component on the Axis that it’s plugged into.
- Allows me to choose how many Static Meshes I would like placed together
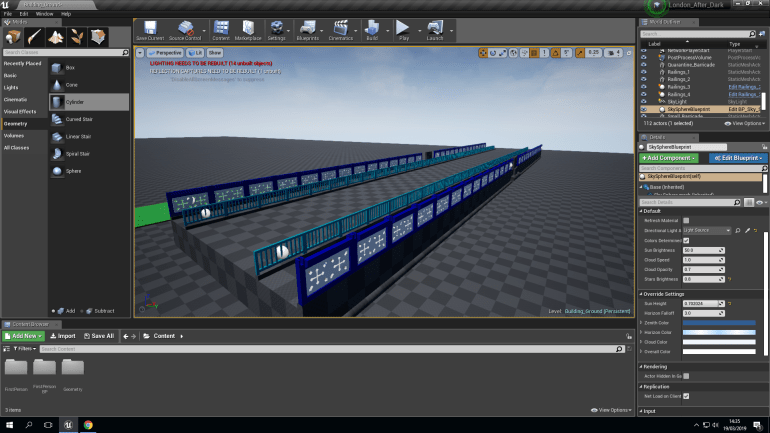
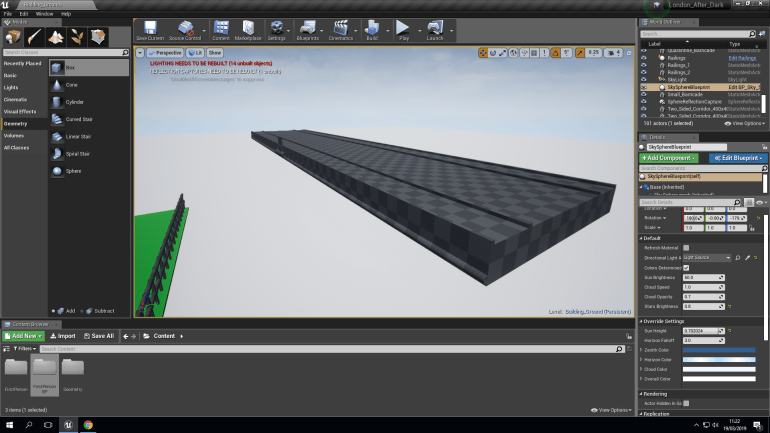
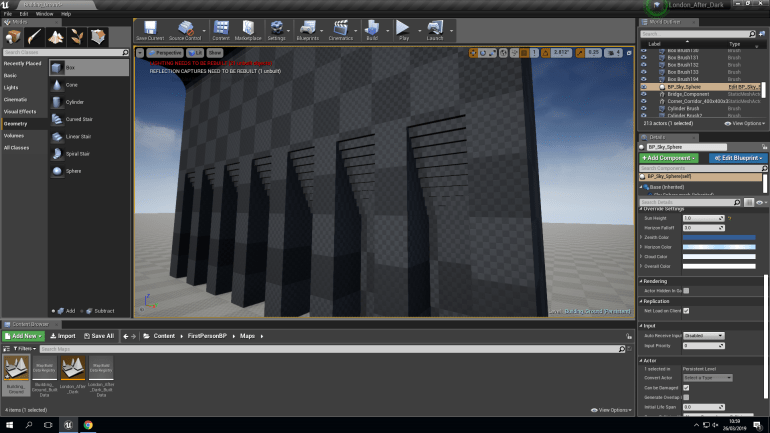
Placing them together created this, which is almost the finalized base of the bridge I will still need to create the middle bases that rise up and the towers in between.
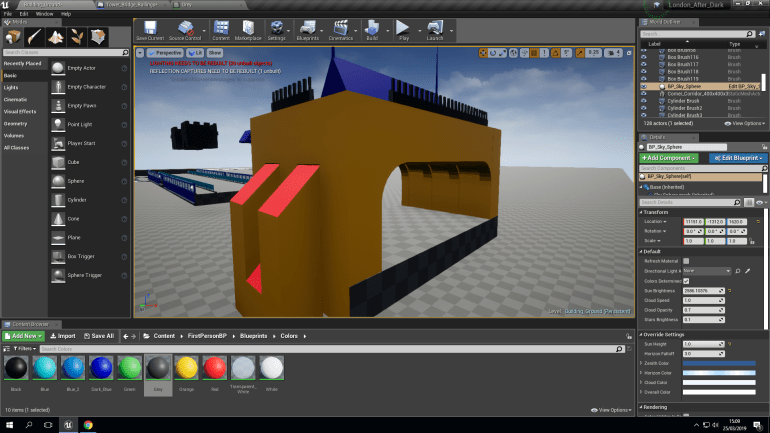
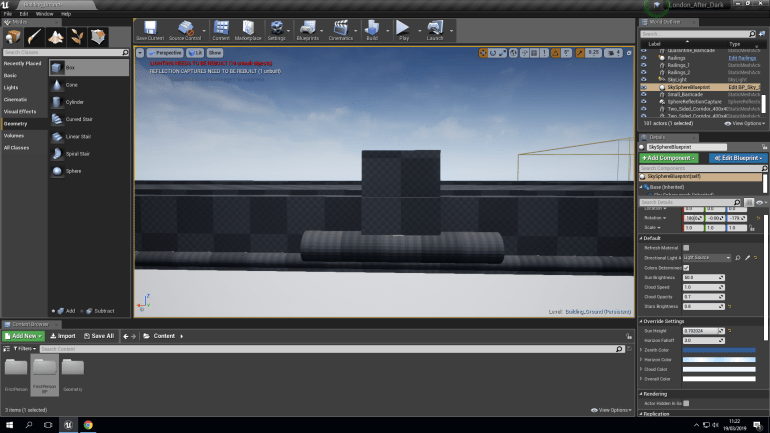
I made these over the span of 2 days using different shapes, mostly including cubes and cuboids, I did this because the model doesn’t have to be super realistic as long as you can recognize what the model is it will serve it’s purpose. However I did want to add certain details to break up large areas of of flat walls such as the indents inside the tunnel.
I could’ve used 3DS Max to create these components and they would’ve been much more detailed of a model but as I said as long as it’s recognizable it’s fine. Another reason I didn’t use 3DS Max is because it wasn’t necessary since it’s a simple model I can create it in UE4.
I added place holder colors so I can texture them later this allows me to
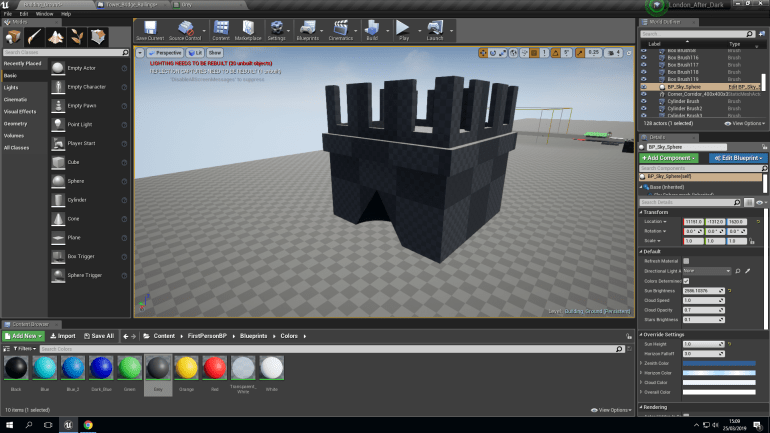
I made these using Additive and Subtractive boxes, they are made to scale to the rest of the Secondary towers and sit on the edge of the corners. I used cones to create the indents on the center bottoms, using pictures as references to help me create a simple but recognizable model.
26th March
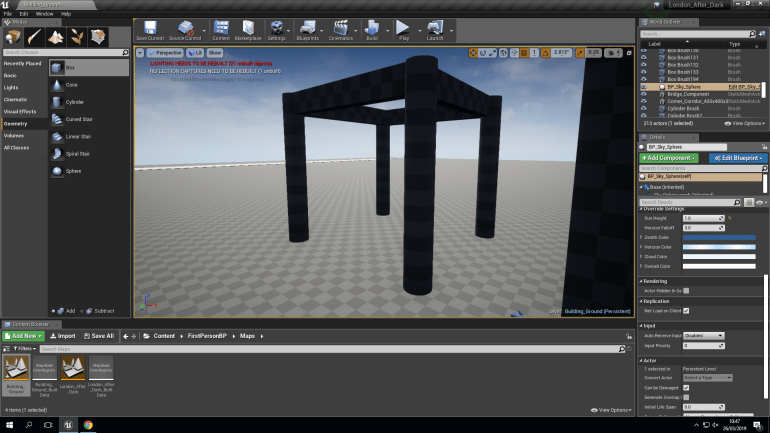
After finishing the smaller towers, I decided to build the two main ones also using UE4 because the wasn’t any details that I wouldn’t be able to create in UE4. I started with the 4 cylindrical corners and roof edges.
I decided to create the towers in a modular way, splitting them height ways into 4 and building each part separately, I thought this would be a good idea because I would be able to concentrate better because the would be less details and I wouldn’t have to squeeze them all into one place.
The tunnel was quite simple to create, I placed a solid box over the area where walls would be and used Subtractive boxes and cylinders to hollow out a tunnel making sure the was equal space on each side so that it was even.
Looking back at photos for reference, I noticed the the tunnel has indents inside of it and decided to replicate this and it also breaks up a large area of flat surface that would be kind of boring and irrelevant but because it has detail it’s more noticeable and aesthetically pleasing to the eye. I created this by grouping Subtractive boxes together with a gradient that decreases moving upwards creating details similar to the actual Bridge.
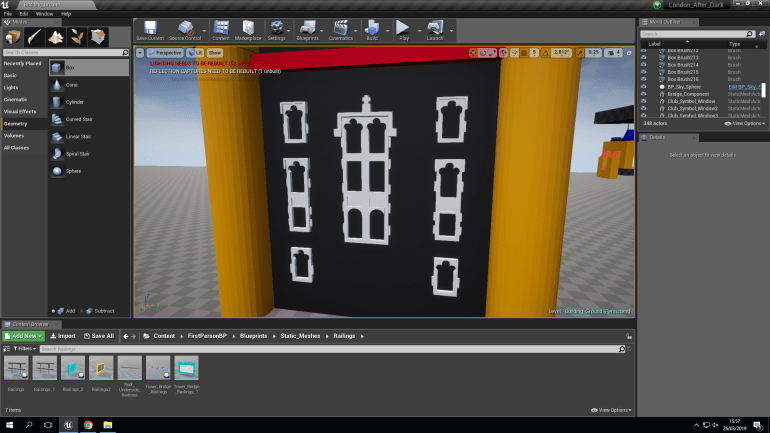
Using Pictures, I began building the windows of the first section, making these in UE4, seemed a sensible choice considering the wasn’t any difficult parts to produce and making use of the Additive and Subtractive blocks, I came across several problems while building these such as some of the tricky shapes involved in several of the windows for example the triple circular shape at the top after using trial and error, I managed to solve how to create these difficult windows by using overlapping Subtractive cylinders and cuboids and doing this gave me a quick and easy to use solution to the problems that I came across and using this knowledge I could now use in the following sections of this project.
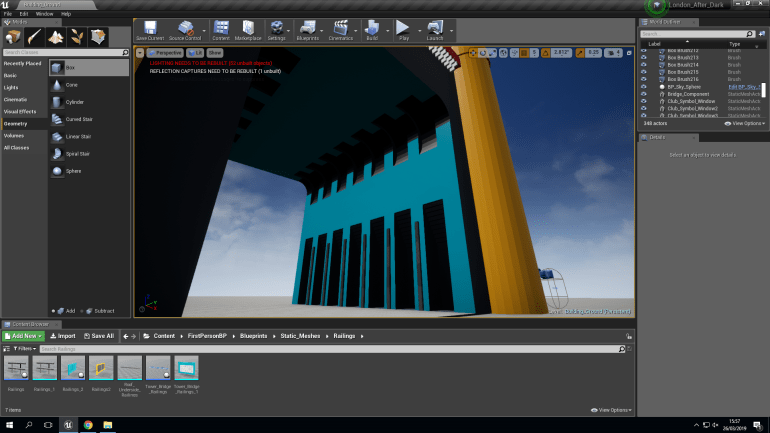
After finishing the first section, I added placeholder color this would act as a reminder of what textures would go where and which ones I should prioritize and give more attention to because they would require more effort and time to put together. Decals would also perform massively in this gives buildings and assets much more character because it would make them look dirty, grimy, shiny, rusty, worn. This is really important because it creates an atmosphere that the player will be able to understand and interact with. Giving the player a more exciting environment that they understand is important more they become more involved and intrigued by it creating a firmer understanding.
