
Looking at my map, I decided it need to look more busy because it’s very bare at the minute. I decided because it’s apocalyptic I should add things of that genre. I first wanted to place a few corpses around the map and created a very simple model of a Civilian. It was easy to create a model by picking and selecting different parts to create a well-proportioned and realistic representation of a human.
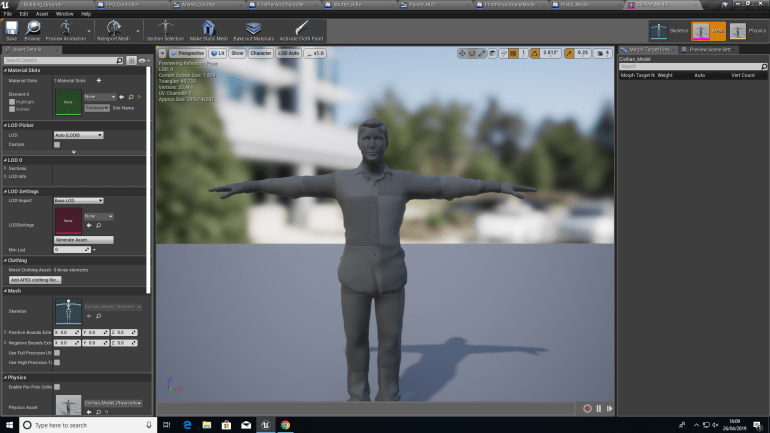
After Importing him, In this window I could manipulate him to sit or lying down by selecting the legs or arms and use the rotation tool to move them into different positions so I could have him in different locations of the map in different positions. This would add a more brutal and unforgiving theme to my game which is what I want to capture.
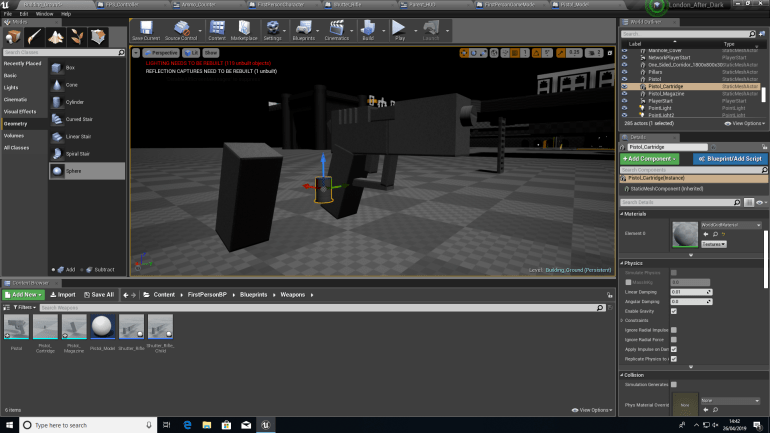
Then I decided to create some weapons to place about near corpses and that maybe the enemies could carry around and use against the player.
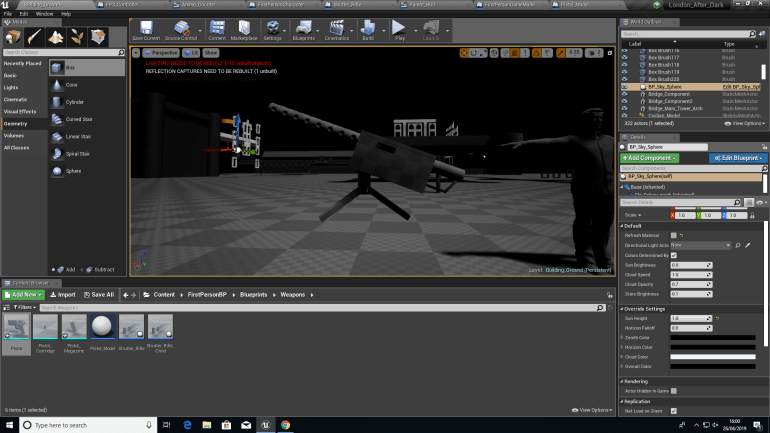
I made the Light Machine Gun the same way as the pistol using Subtractive and Additive blocks since the models are quite small I had to consider perspective a lot more to create a realistic but detailed model which was difficult considering the scale but after a few minutes of figuring out a suitable scale, it was easy to create them. These would mostly act a scenery models but they could be held by Enemy AI if I desired.
Creating AIs was definitely the hardest part of my Unit 8 project so far because I hadn’t done anything like it in the past.
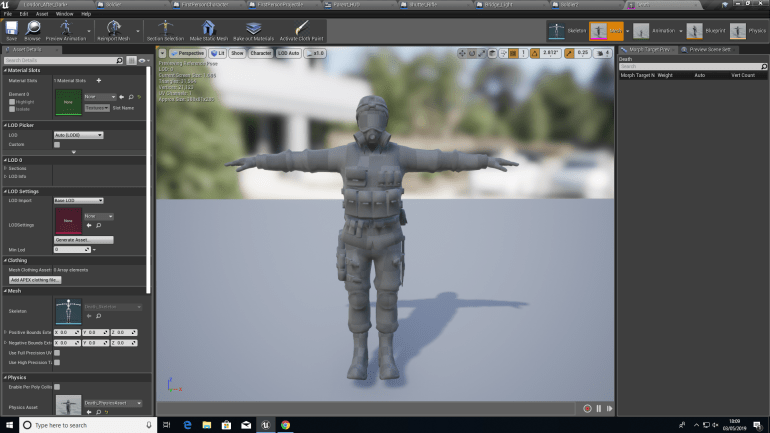
Firstly I opened Adobe Fuse and created a model that I would use as a base model for my Enemies that the player would fight against, I chose clothing that I would imagine a post-apocalyptic army to wear, and Gas masks to protect them from the Gas. I then exported them into ‘Mixamo’ a website where you can give Fuse models animations. I chose three animations and linked them individually to the Fuse model and exported them to UE4.
After Importing them I had to set them up and since I had no idea how I would do this I asked another student to help me set it up, since he had worked with AI before.

This blueprint allows the AI to shoot at the player:
Firstly, When the AI sees the player, the blueprint tells them to follow them, unless line of sight or range is lost, the blueprint also spawns a projectile knowing the location and rotation or the capsule and sphere so it spawns in the right place, it then plays a 2D sound when firing allowing the player to hear when they’re getting shot at allowing them to take cover or fire back. The blueprint in addition has a ‘float in range’ which decided how often the AIs are allowed to fire a projectile in this case it’s between 3 and 6 seconds.

This blueprint allow the AI to wander around:
Firstly, the movement Boolean tells the AI at what pace to move around I had to edit this several times so they moved in time with their leg movement otherwise it looked like they were gliding around. It tells the AI to move somewhere within an acceptance radius which is a component inside of the persistent level called ‘NavMeshBoundsVolume’ this is an area that can be edited and I expanded it to cover almost all of the bridge. Every 0.5 seconds it tells the actor to move, and this is linked to a ‘Self’ which means it’s telling itself to move allowing the AI to move around.

This Blueprint allows the AI to take damage:
To begin with it gets the Capsule of the AI and if a First Person Projectile passes through it it plays the blueprint. It brings up ‘Health which is 100’ and ‘Damage Amount which is 50’ and minuses it from the Health and does this to itself. If the AI is hit twice the blueprint continues to a float asking itself if all of it’s Health is gone if this condition is met it disables the movement of the AI and does this Immediately it then plays an animation. The animation causes the AI to fall over as if it’s been shot dead there is then a Delay of 4 seconds allowing the animation to play fully and then destroys the AI actor removing them from the persistent level.
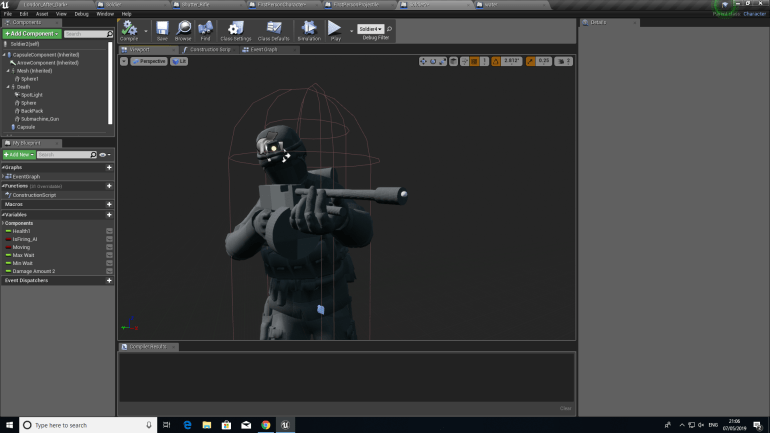
I thought it would be a good idea to create another type of enemy variant so I wanted to create one with a fast-firing low damage sub machine gun based off a Thompson used during WW2. I duplicated the first soldier and changed and altered a few off the blueprints so he had his own damage and firing rate.
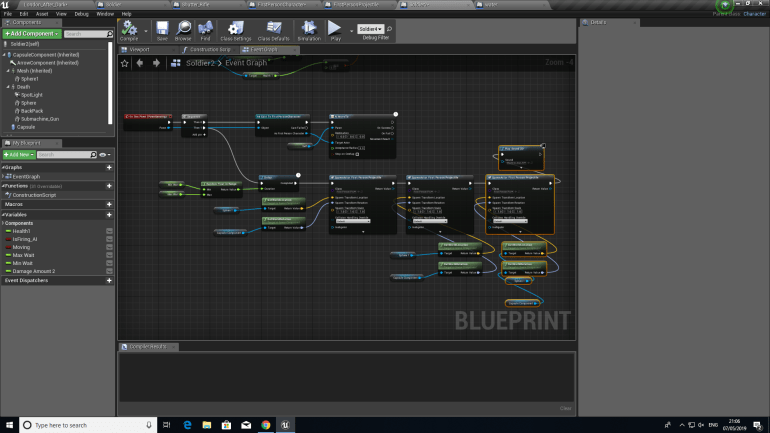
This Blueprint is almost identical to the first one however the are a few small differences.
The first one is the fire rate between shots since he fires off three shots in quick succession, he spends a longer time reloading. This is controlled by the Random Float In Range on the left. Since he fires three shots I duplicated the Spawn Actor First Person Projectile. This triggers the Soldier to fire three times before reloading, while this is occurring a 2D Sound is played to stimulate the sound of Gunfire.
